
Christmas Gifts

I made this shaped, nostalgic-looking Christmas card using Spellbinders dies and hot foil plate. I love Christmas and make cards all year long, starting the next year's cards before the end of the year. Some people think that's crazy, but I don't like to feel rushed in November to get my Christmas cards finished!

I started by die cutting out the frame for the presents using Spellbinders' Gift Border & Sentiments and Simon Says Stamp Matte Gold Cardstock.
I then used the two outline dies to cut out whole presents. I wanted to do a faux inlay technique, so I embossed the frame image on top so I could color the images.
I used Copic Markers R29 and R39 to color in the presents. I used the lighter color to make "highlights" on the gifts. I kept laying the gold frame over it to make sure it looked good.
Here's the result after gluing the two pieces together. I cut out the bows from the same gold cardstock. Since the frame covers a lot of the other piece, I didn't have to be super careful about coloring. I love the results. It looks like I spent a lot more time inlaying pieces into the frame.
For my background, I chose Spellbinders' Adorning The Tree 3-D embossing folder and Gina K Fresh Asparagus cardstock. To tie in the gold and add some interest, I lightly ran Honey Bee's Metallic Gold ink pad over the embossed cardstock. 
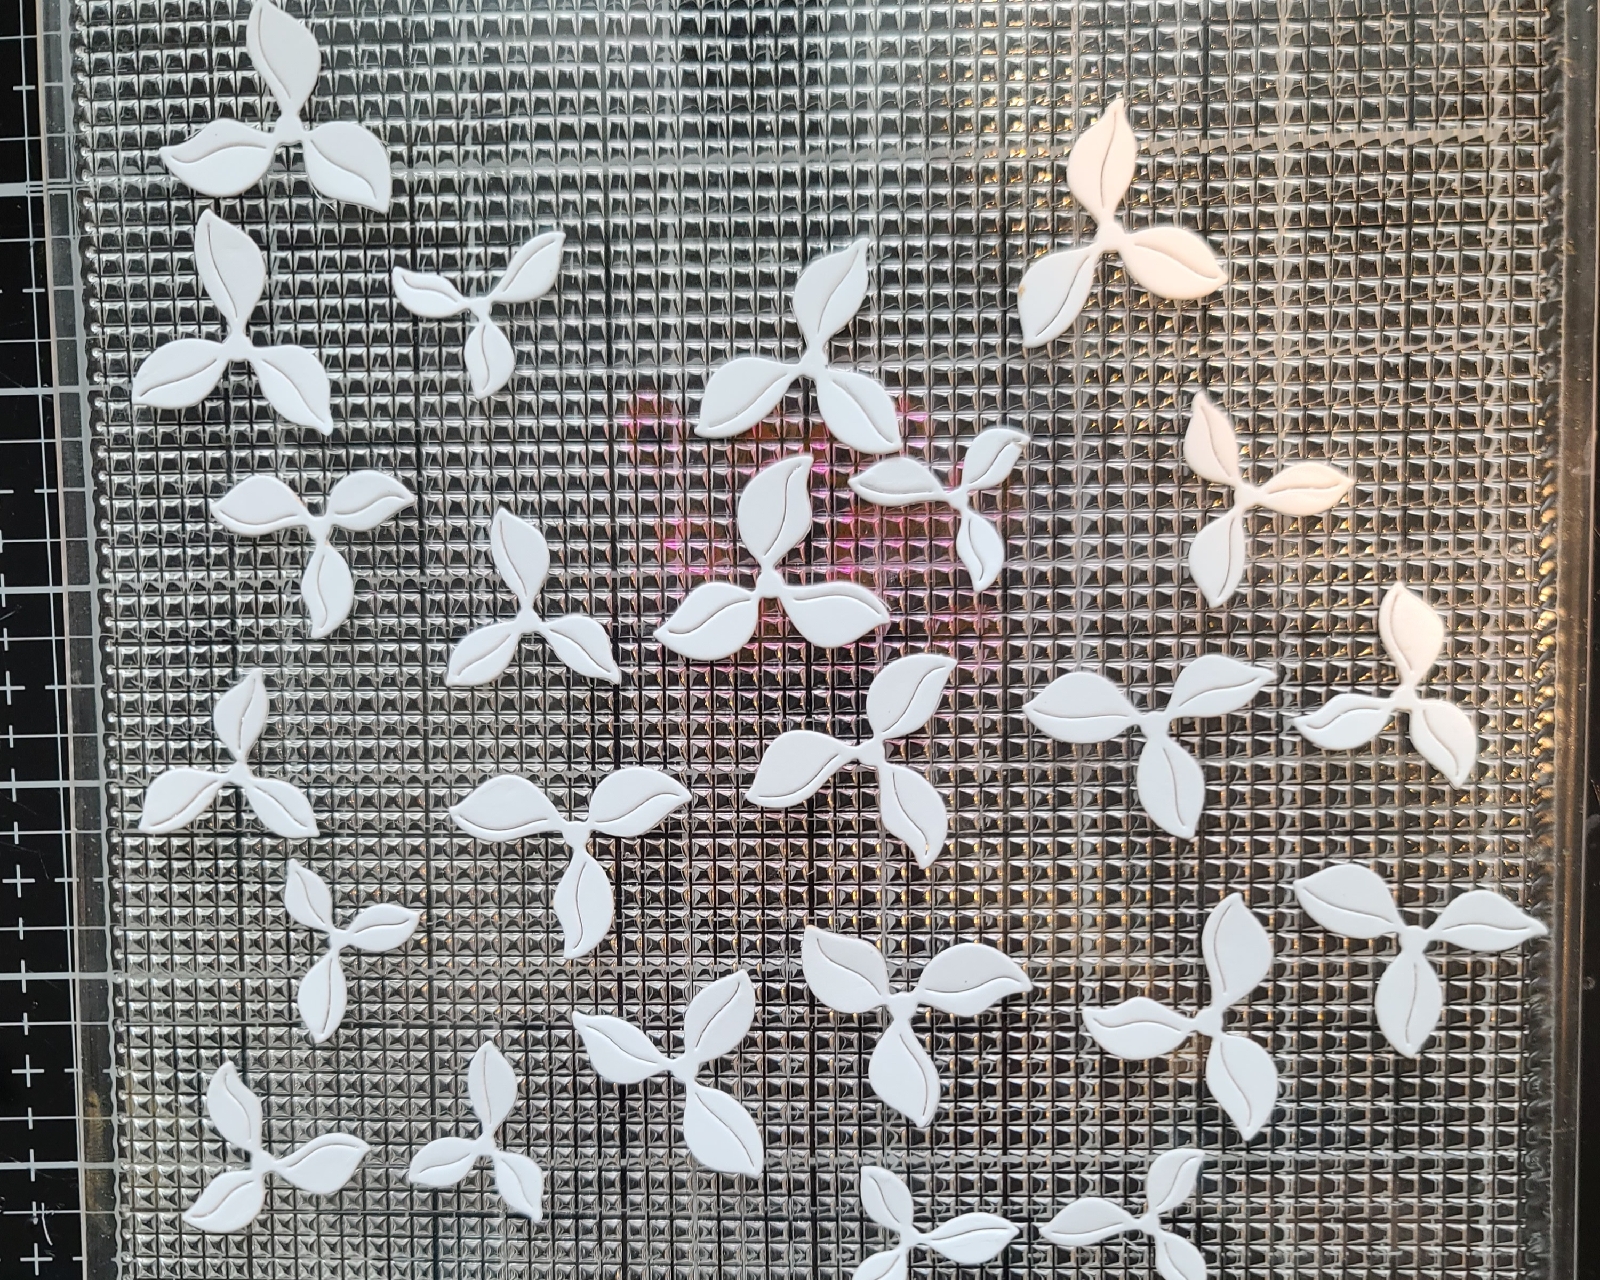
After diecutting all floral pieces from Layered Poinsettia Tree die set from Spellbinders, I placed the die cuts onto the insert to Altenew's Stamp Wheel. This held them in place so I could ink up the white cardstock. This product is made from the same type of photopolymer as stamps. It has some stick and is really easy to clean.
All pieces colored and adhered together. I used Rustic Wilderness, Fossilized Amber, Antique Linen, Lumberjack Plaid, and Mowed Lawn Distress inks. I also used Honey Bee's Metallic Gold ink for the small flowers. 
Because this is a shaped card, I took the embossed panel and die cut the bottom edge with the bottom edge die from Gift Border & Sentiments. 
I hot foiled Merry Christmas using the plate from Spellbinders' Glimmering Christmas Flora set. I foiled onto white Hammermill Cardstock then inked lightly with Antique Linen to match the poinsettias. I used the coordinating die to cut it out. I love how the dies cut so close to the sentiment. 
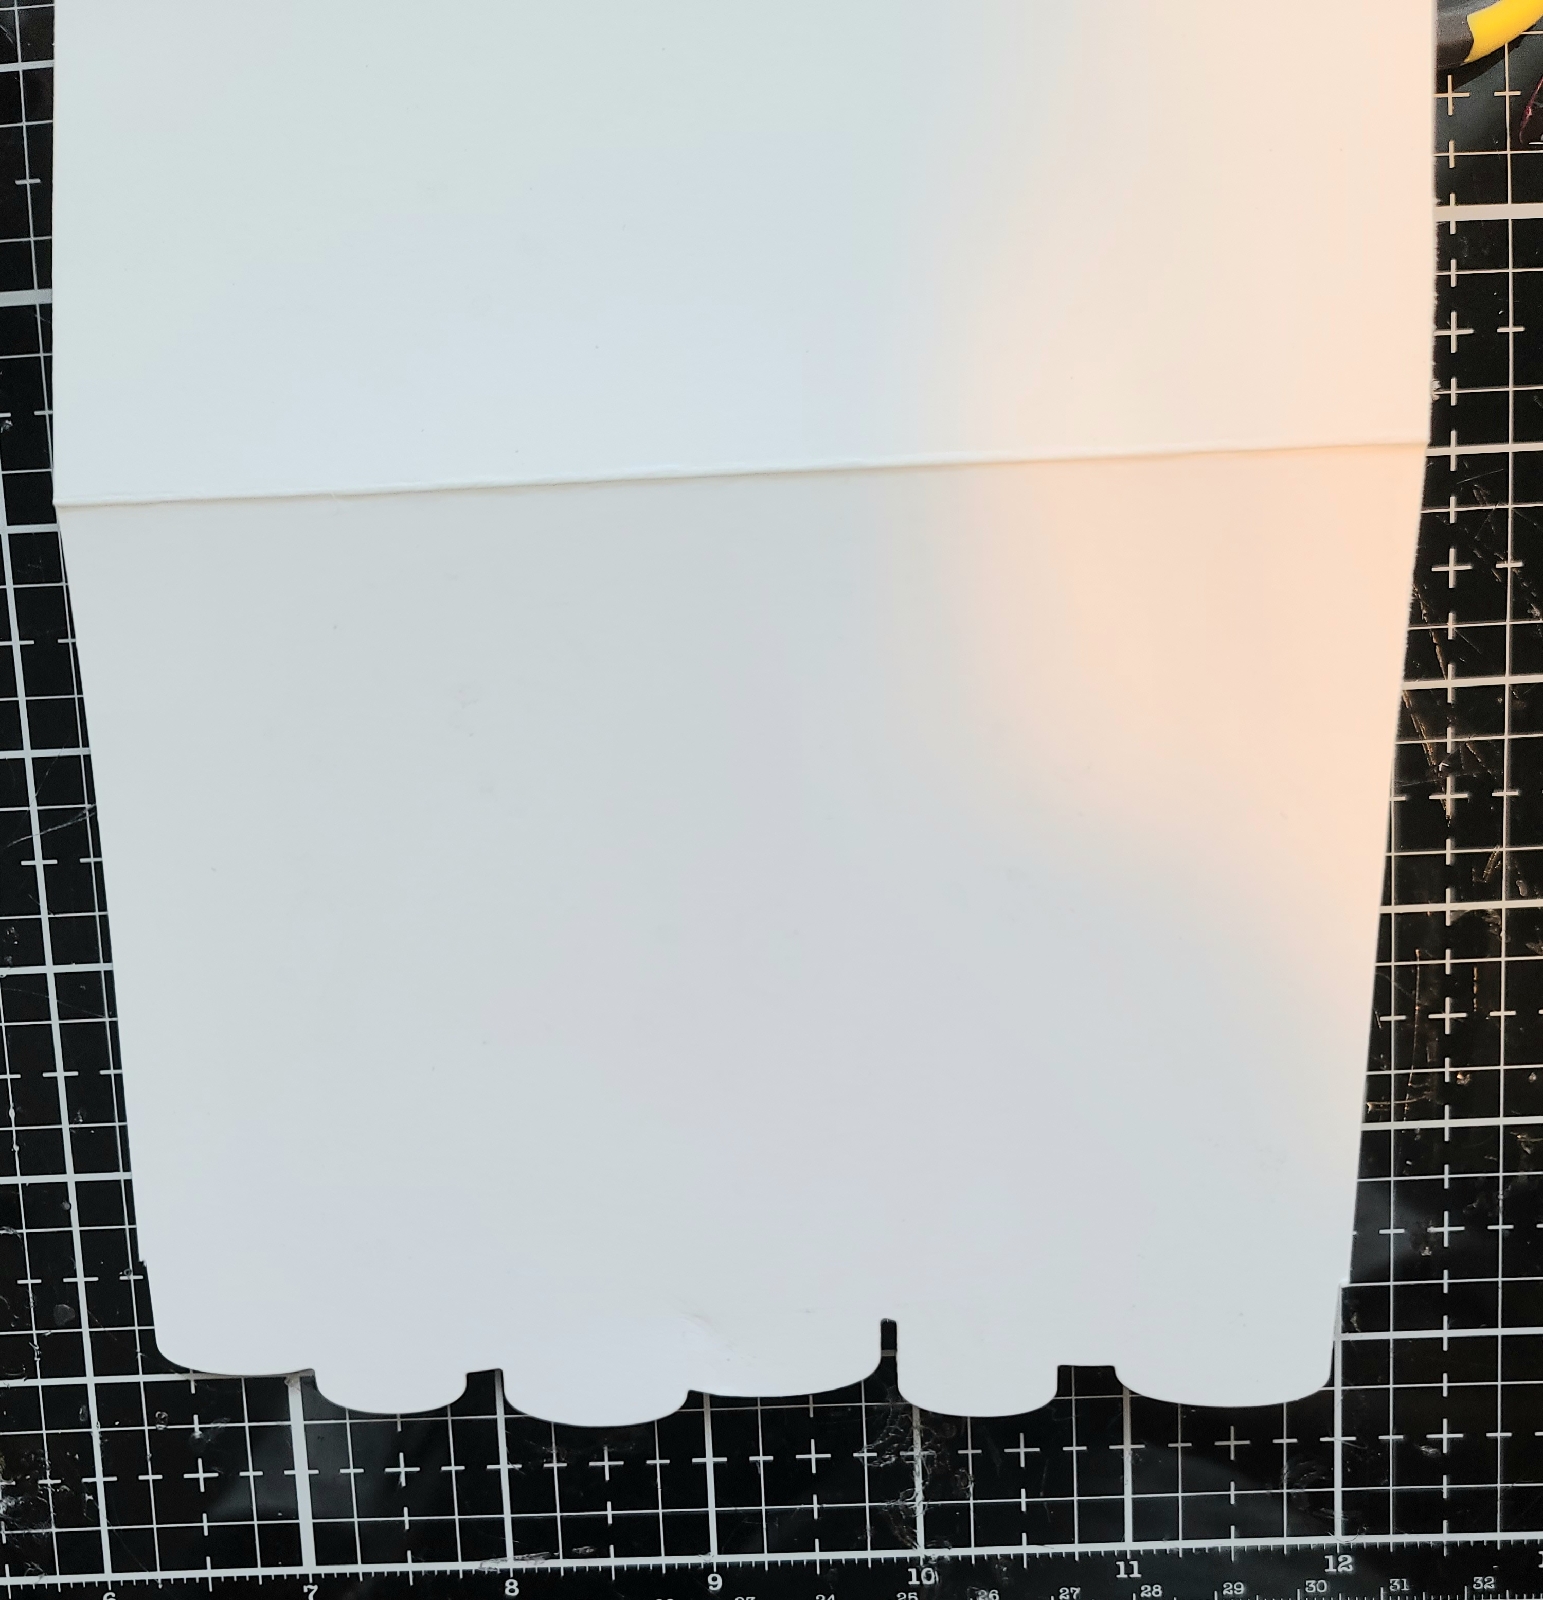
I cut the card base the same as the embossed panel.
Finished card. Even though it's shaped, it stands up nicely. I adhered embossed panel onto card base with Gina K Connect Glue. I used foam squares to pop up the row of gifts. This adds dimension and allows room for you to place items behind it. I arranged the floral pieces behind the tops of the gifts, adhered them with glue, then trimmed off the overhang. I also popped up the sentiment.
Inside of the card, I put a piece of the same gold cardstock as well as a white panel to write a message. The gold peeks out beneath the row of presents when the card is closed. I finished things off with a sprig. I hope you like this card!

Comments

Popular posts from this blog

Decorations-1

Hello, and welcome to my blog. For today's post, I am once again a guest designer for Christmas Craft Creations. This month's theme is decorations. One of the first things I put up for Christmas is our stockings, so I had to create a card with a stocking. I used Spellbinders Stocking Full of Joy die set.  I didn't have a red cardstock the color I wanted. Something I do often is adding ink direct to paper. This is basically creating your own colored cardstock. I used Altenew's Crisp Dye Ink in Vineyard Berry, then die cut the stocking. I used Aged Mahogany Distress Ink to add shadows. I cut the top of the stocking and loop from Simon Says Stamp Matte Gold Cardstock.  I used different shades of green to make the foliage appear more organic. The red berries are cut from the first inked paper. For the white berries, I again went direct to paper with Antique Linen Distress Ink. Once the items are finished and ready ...

Add A Hat-2

Hello, and welcome to my blog! I made this cute penguin card for Christmas Craft Creations. This month's theme is Hats On. I love the warm hats that these penguins are wearing. I'll walk you step-by-step through this card. I started with Lawn Fawn's Here We Go A-Waddling stamp set. I stamped out the trio of carolers, the guitar player, and the lamppost. I colored the images with Copic markers: C9, C6, C3, C2, BG09, BG18, RV69, R29, R20, V17, V15, G46, G28, Y26, YR24, E59, E39, B000, Y17, Y15, and YR 18. I cut two snow banks out of Neenah Classic Crest Cover Solar White 80lb cardstock with Lawn Fawn's Stitched Hillside Borders. I then used Stormy Sky and Tumbled Glass Distress Oxides to ink the edges of the banks. Pro tip: use a light color, e.g. blue or grey, to line the edges of a white image to give it more depth. I took an A2 panel in landscape position and inked the top 3/4 with Hickory Smoke Distress Oxide. Then, using the new Ra...

Circle Tone Butterfly

Hello, and welcome to my blog! This is my first blog post since being chosen to be an inspiration team member for Brutus Monroe. I couldn't be more excited! I love Brutus Monroe products and will enjoy sharing my work using their items. I was feeling a little mixed media vibes when I created this card. I love geometric shapes and butterflies! I thought the contrast between the two added interest. The sentiment is perfect because I'm giving this card to my husband. I'm always telling him "you are my sunshine!" I started today's card by stenciling this cardstock with Blueprint Sketch Distress Ink on top of Circle Tone Mixed Media Stencil. I inked darker in the center, then faded to pale blue around the edges. Pro Tip: When stenciling, apply in in circular motions going both clockwise and counterclockwise to add depth to the image and get a more complete image . I used a script background stamp from my stash. This helps draw the eye towards the butterfly, which i...