Decorations-1

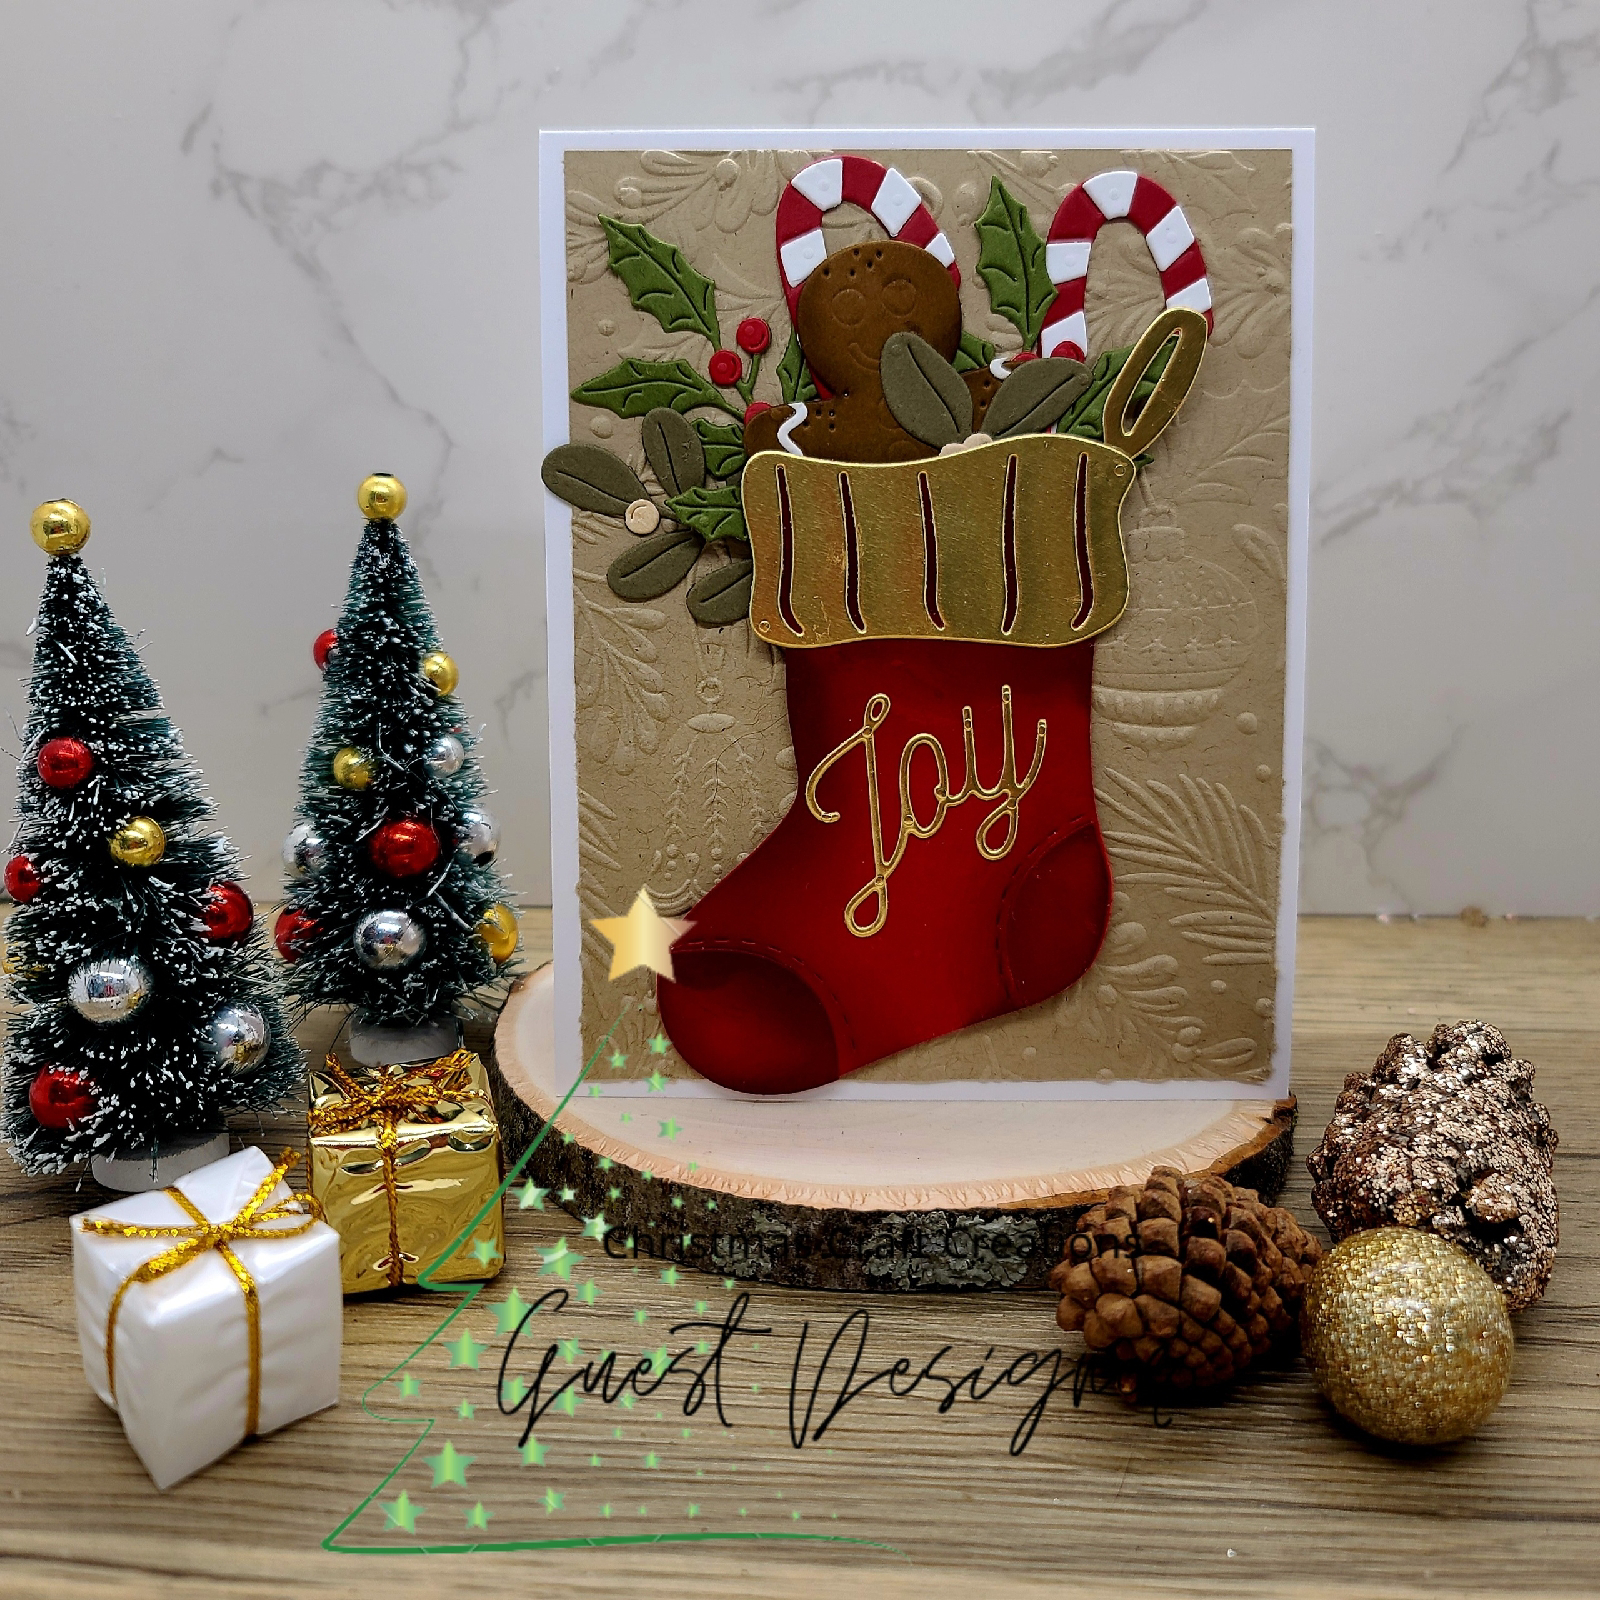
Hello, and welcome to my blog. For today's post, I am once again a guest designer for Christmas Craft Creations. This month's theme is decorations. One of the first things I put up for Christmas is our stockings, so I had to create a card with a stocking. I used Spellbinders Stocking Full of Joy die set. 


I didn't have a red cardstock the color I wanted. Something I do often is adding ink direct to paper. This is basically creating your own colored cardstock. I used Altenew's Crisp Dye Ink in Vineyard Berry, then die cut the stocking.


I used Aged Mahogany Distress Ink to add shadows. I cut the top of the stocking and loop from Simon Says Stamp Matte Gold Cardstock. 


I used different shades of green to make the foliage appear more organic. The red berries are cut from the first inked paper. For the white berries, I again went direct to paper with Antique Linen Distress Ink.


Once the items are finished and ready to adhere behind the stocking, I place a piece of Press N Seal over it. This keeps your diecuts in place. I flipped it over and applied glue to the back, then place onto the panel. Press N Seal keeps everything lined up!


Here's everything glued down and ready to be covered by the assembled stocking. I love the candy canes and gingerbread man! I used Spellbinders Adorning The Tree 3D embossing folder on a kraft panel.


Final card. I added the Joy sentiment in matte gold to match the other gold elements. Love how this turned out! To see all of the card inspirations and a chance to win a prize, check out Christmas Craft Creations blog here.


Comments

Popular posts from this blog

Christmas Gifts

I made this shaped, nostalgic-looking Christmas card using Spellbinders dies and hot foil plate. I love Christmas and make cards all year long, starting the next year's cards before the end of the year. Some people think that's crazy, but I don't like to feel rushed in November to get my Christmas cards finished! I started by die cutting out the frame for the presents using Spellbinders' Gift Border & Sentiments and Simon Says Stamp Matte Gold Cardstock. I then used the two outline dies to cut out whole presents. I wanted to do a faux inlay technique, so I embossed the frame image on top so I could color the images. I used Copic Markers R29 and R39 to color in the presents. I used the lighter color to make "highlights" on the gifts. I kept laying the gold frame over it to make sure it looked good. Here's the result after gluing the two pieces together. I cut out the bows from the same gold cardstock. Since t

Delicate Floral Hummingbirds

I made today's card for my husband. Our anniversary is in two weeks. He likes bright colors, so I hope he likes it! I made this with Spellbinders Delicate Floral Hummingbirds die. I love Spellbinders! Their dies, stamps, and hot foil plates are all such great quality.  This die set has a die and outline die. If you only use the main die, it will cut out the middle without changing the size of your cardstock. Since this is so large, I wanted to cut out the entire image since I didn't want anything larger than 5"x7". Protip: if you want a smaller card front, you can always trim it down. I cut the image from Lawn Fawn Noble Fir cardstock. Then, I took a small blending brush and inked shadows with Rustic Wilderness Distress Ink. To make the diecut appear more realistic, I inked at the base of each leaf and in the curves of the vines.  After die cutting all of the layering pieces out of Neenah Classic Crest Cover Solar White 80lb