
Hello, and welcome to my blog! I made this cute penguin card for Christmas Craft Creations. This month's theme is Hats On. I love the warm hats that these penguins are wearing. I'll walk you step-by-step through this card.
 I started with Lawn Fawn's Here We Go A-Waddling stamp set. I stamped out the trio of carolers, the guitar player, and the lamppost. I colored the images with Copic markers: C9, C6, C3, C2, BG09, BG18, RV69, R29, R20, V17, V15, G46, G28, Y26, YR24, E59, E39, B000, Y17, Y15, and YR 18.
I cut two snow banks out of Neenah Classic Crest Cover Solar White 80lb cardstock with Lawn Fawn's Stitched Hillside Borders. I then used Stormy Sky and Tumbled Glass Distress Oxides to ink the edges of the banks. Pro tip: use a light color, e.g. blue or grey, to line the edges of a white image to give it more depth.
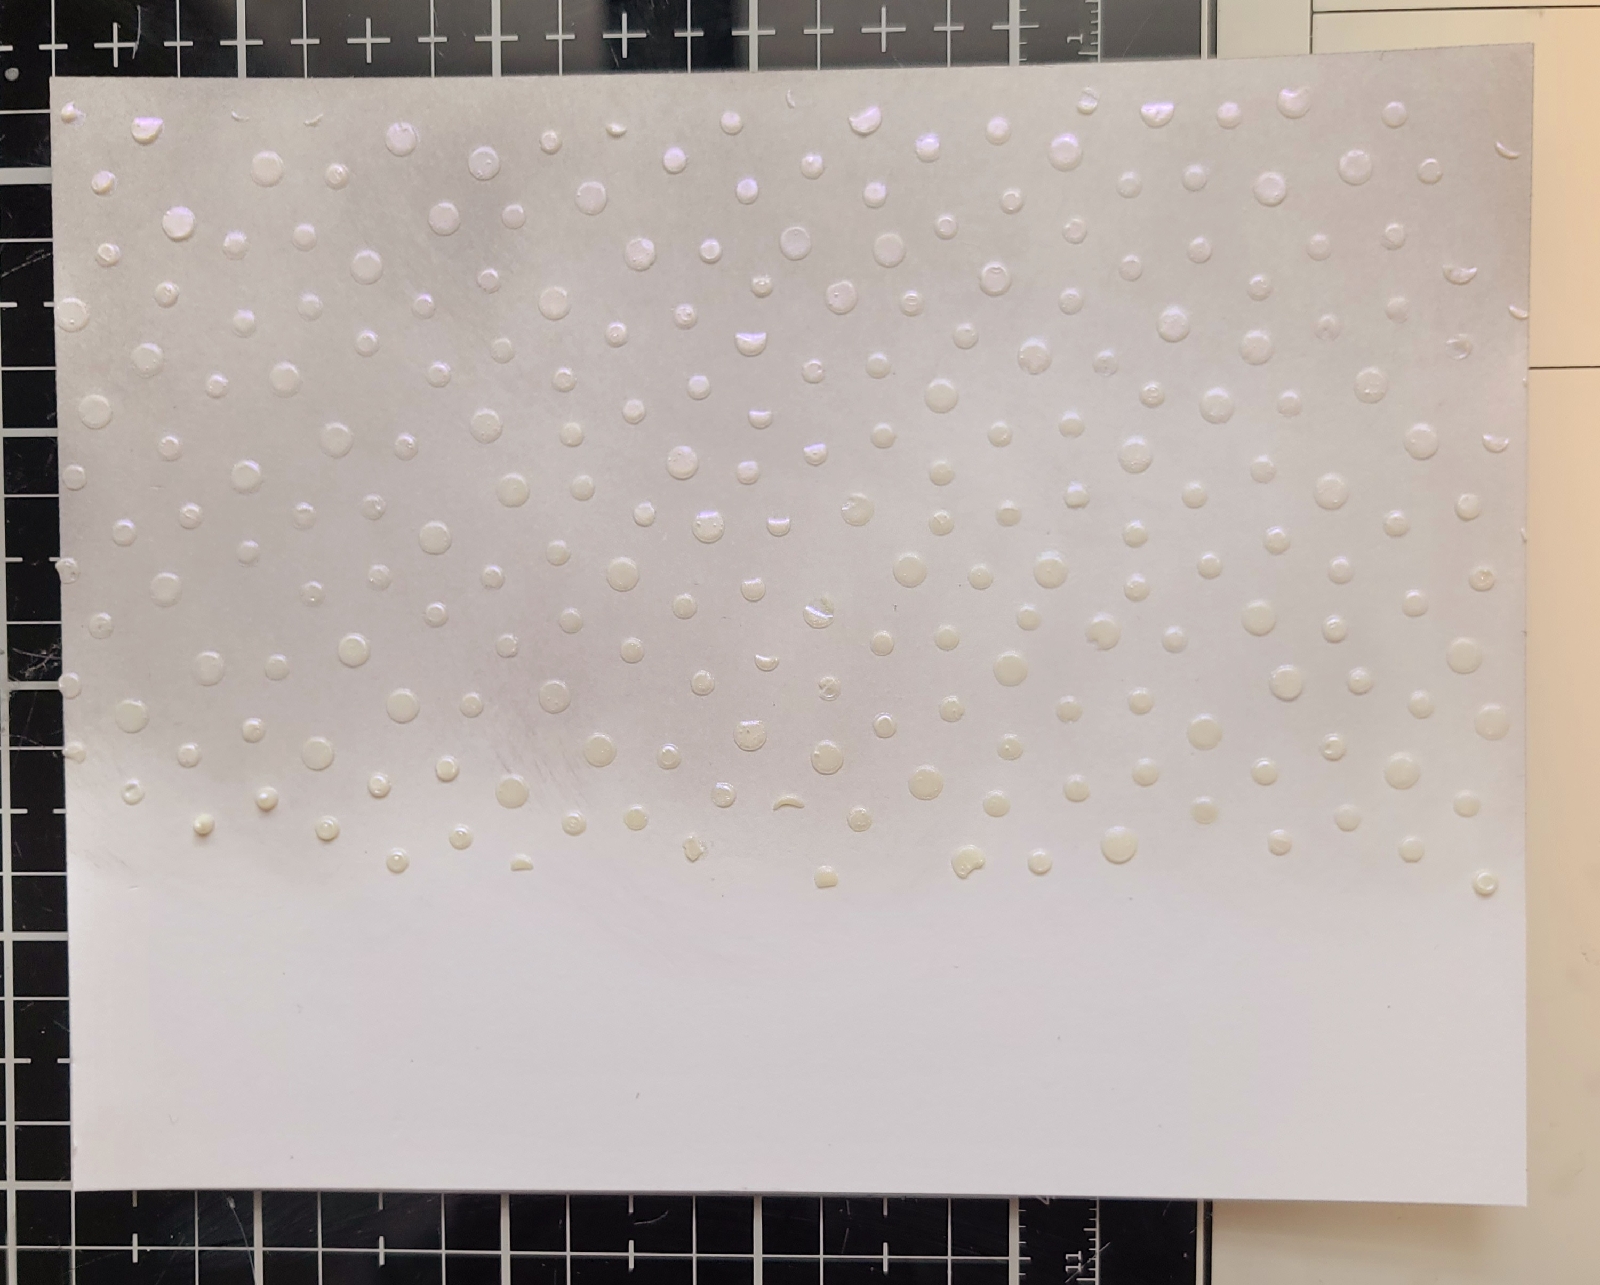
I took an A2 panel in landscape position and inked the top 3/4 with Hickory Smoke Distress Oxide. Then, using the new Ranger winter scene stencil, I used Royal Flush Solar Paste to make "snowfall. "
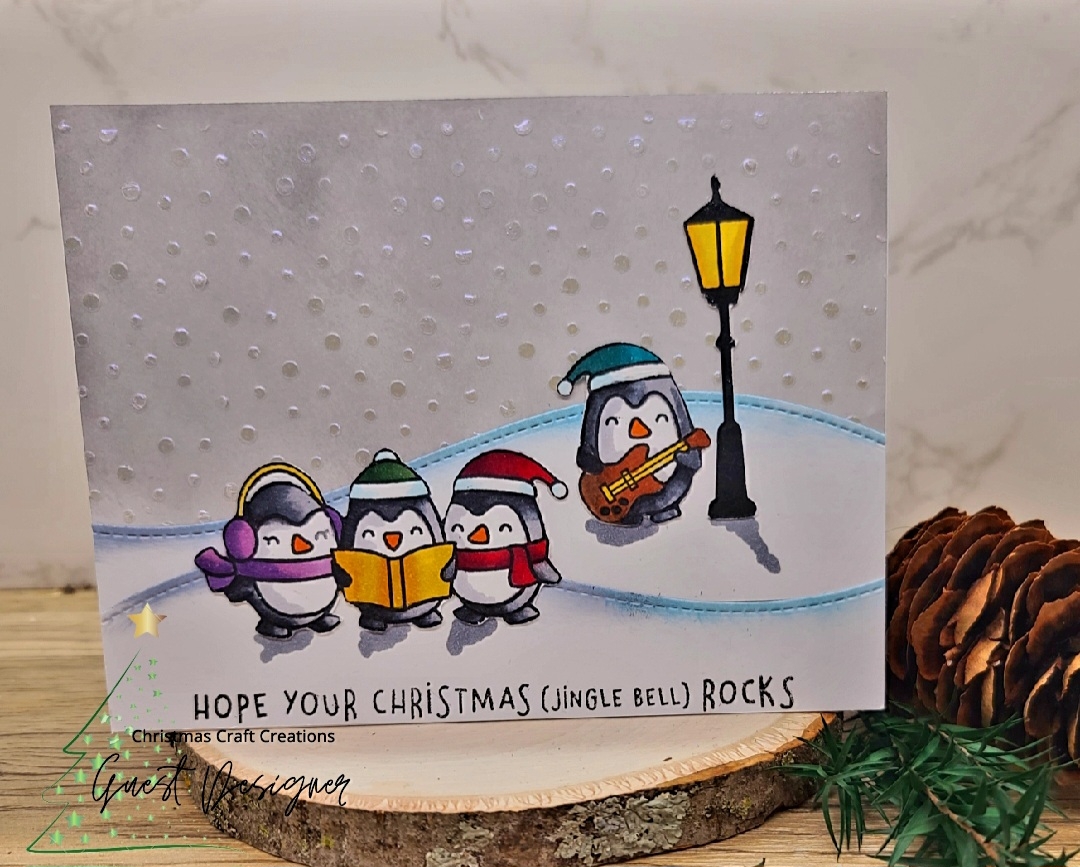
To finish to card, I stamped the sentiment and adhered the hillsides and images to the panel. Pro tip: to give more depth to your images, add shadows when appropriate. I used C5 here. This makes it so your images don't appear to be "floating."
ReplyDeleteThose penguins are too cute! Love the scene you've made and your fabulous coloring. Thanks for being a guest design at CCC this month!
Thanks! I love penguins so much!!
Delete