
Cute and Easy Valentine

I made this adorable Valentine for my husband today using Honey Bee Stamps Hedgehugs stamp set. 


 I used Copic markers to color the stamped image. For the animals, I used E29, E37, E50, E53, and R20. For the scarf, I used R29, R35, R83, and R85. Pro tip: when coloring with Copics, use a very smooth cardstock for the best results. I only use Neenah Classic Crest Cover Solar White 80lb. 

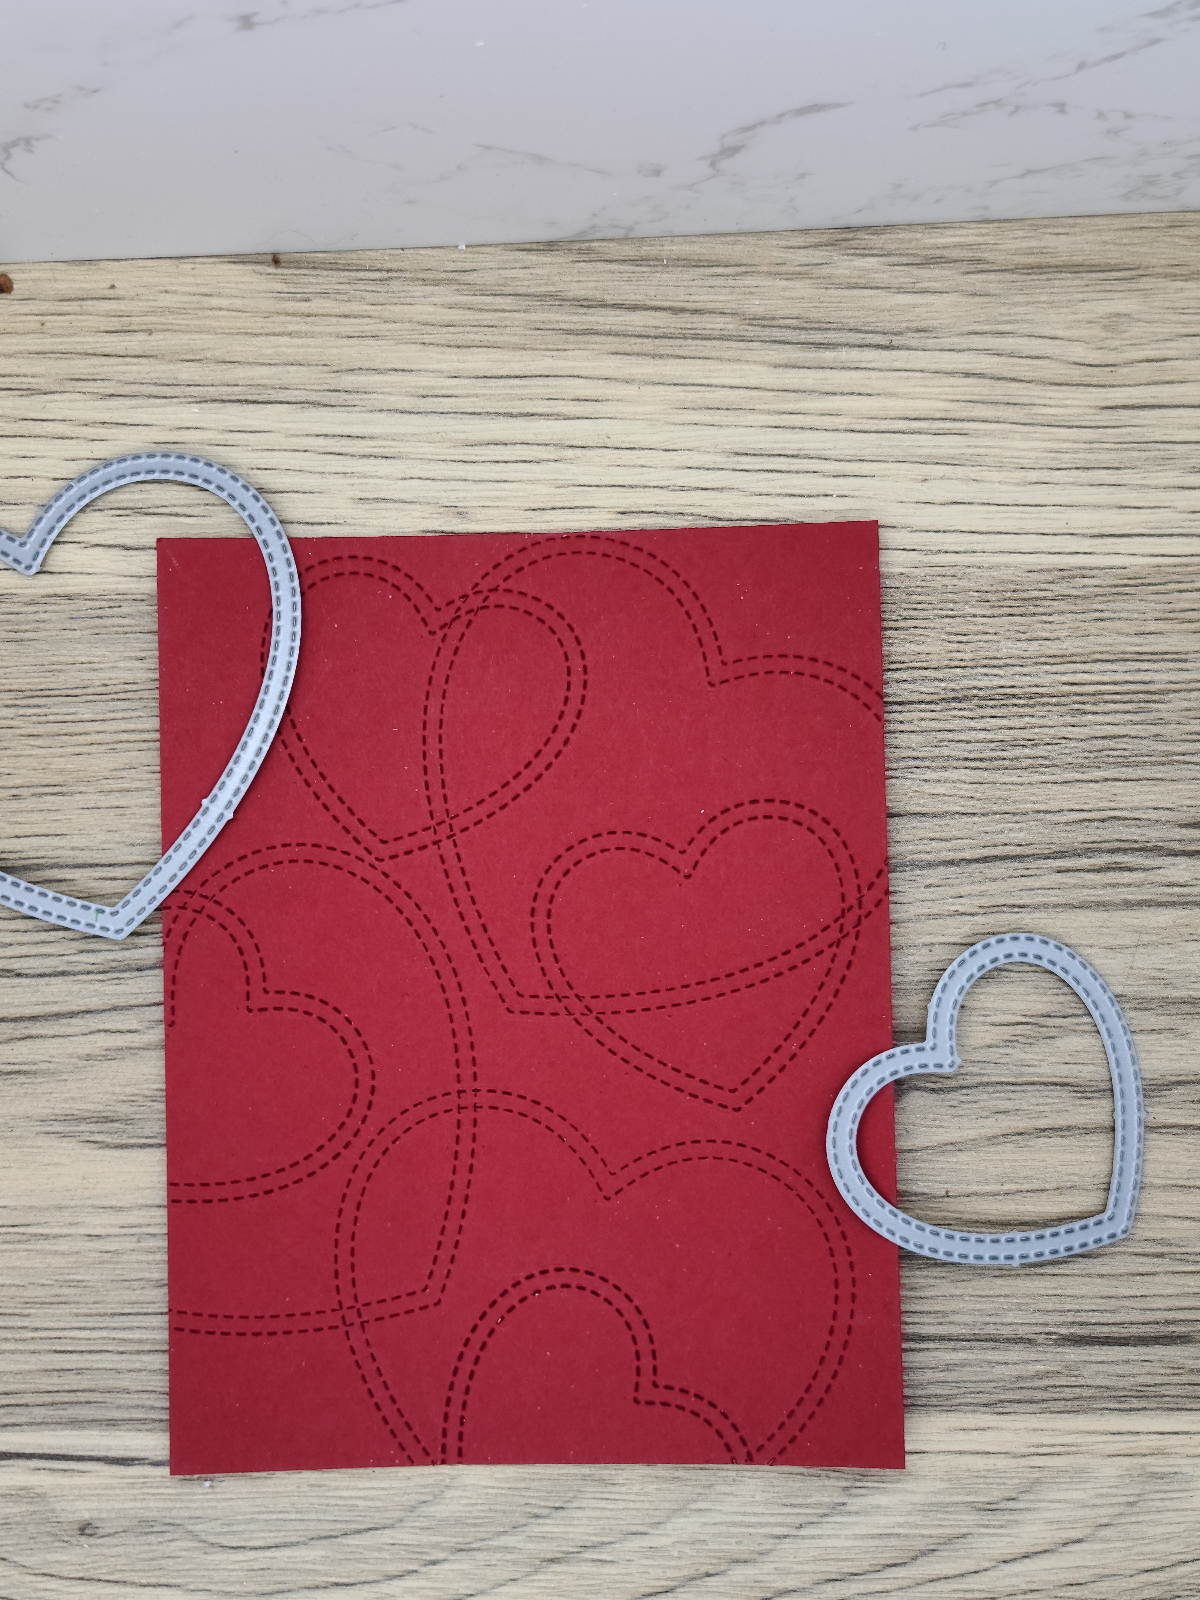
For the back panel, I used Hero Arts Cranberry cardstock and Lawn Fawn Just Stitching Hearts dies.

For embellishments, I used hearts made with Lawn Fawn Holographic Metallic Cardstock and Lawn Fawn Hearts and Stars Mini Tag die.
Finally, I clear heat embossed the sentiment which was stamped using Picked Raspberry Distress Oxide. I cut out the sentiment using Lawn Fawn Everyday Sentiment Banner Dies. 
This came together easily, but looks like I spent hours on it. 
Happy Valentine's Day 💗 

Comments

Popular posts from this blog

Friday April 23, 2021

Springtime Slimline It's finally spring and the flowers are starting to bloom outside and in my craft room! Today, I made this spring-themed birthday card for my niece. I was inspired by Jennifer McGuire. She made a video two years ago who where she made a card similar to this. If you don't know who she is, her channel is a must watch!  These floral framed tiles look like stained glass. Like my post a week ago, I used Distress Oxides to get the watercolor effect of their backgrounds. Products needed for this card are Distress Oxides or other water-reactive ink, blending brushes or other blending tool, a slimline card base, pieces of white cardstock, a piece of halographic cardstock, square frame dies (I used these from Pinkfresh Studios), and a sentiment die (I used a border die from Lawn Fawn). I started by randomlly ink blending with green and blue oxides. By blending ink first, the completed look is more striking. If you want a more subtle background,...

Decorations-1

Hello, and welcome to my blog. For today's post, I am once again a guest designer for Christmas Craft Creations. This month's theme is decorations. One of the first things I put up for Christmas is our stockings, so I had to create a card with a stocking. I used Spellbinders Stocking Full of Joy die set.  I didn't have a red cardstock the color I wanted. Something I do often is adding ink direct to paper. This is basically creating your own colored cardstock. I used Altenew's Crisp Dye Ink in Vineyard Berry, then die cut the stocking. I used Aged Mahogany Distress Ink to add shadows. I cut the top of the stocking and loop from Simon Says Stamp Matte Gold Cardstock.  I used different shades of green to make the foliage appear more organic. The red berries are cut from the first inked paper. For the white berries, I again went direct to paper with Antique Linen Distress Ink. Once the items are finished and ready ...

Add A Hat-2

Hello, and welcome to my blog! I made this cute penguin card for Christmas Craft Creations. This month's theme is Hats On. I love the warm hats that these penguins are wearing. I'll walk you step-by-step through this card. I started with Lawn Fawn's Here We Go A-Waddling stamp set. I stamped out the trio of carolers, the guitar player, and the lamppost. I colored the images with Copic markers: C9, C6, C3, C2, BG09, BG18, RV69, R29, R20, V17, V15, G46, G28, Y26, YR24, E59, E39, B000, Y17, Y15, and YR 18. I cut two snow banks out of Neenah Classic Crest Cover Solar White 80lb cardstock with Lawn Fawn's Stitched Hillside Borders. I then used Stormy Sky and Tumbled Glass Distress Oxides to ink the edges of the banks. Pro tip: use a light color, e.g. blue or grey, to line the edges of a white image to give it more depth. I took an A2 panel in landscape position and inked the top 3/4 with Hickory Smoke Distress Oxide. Then, using the new Ra...